Introduction to PXF Files
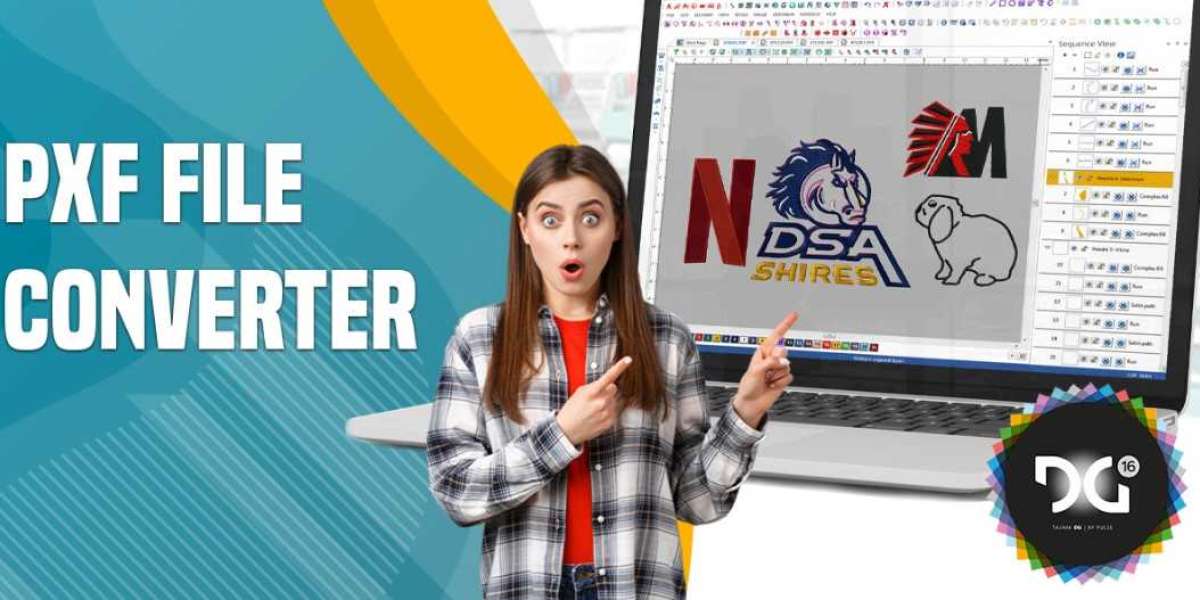
In the realm of embroidery digitizing, PXF files hold a significant place. PXF (Parametric Exchange Format) is a proprietary file format used by Pulse Microsystems. These files contain intricate details of embroidery designs, making them a staple in professional embroidery projects. Whether you are a seasoned embroidery designer or a novice looking to expand your skills, understanding how to convert PXF files is crucial.
Why Convert PXF Files?
Converting PXF files to more widely-used formats like DST, PES, or JEF can enhance compatibility with different embroidery machines and software. This conversion is essential for:
- Expanding Accessibility: Ensuring designs can be utilized on various embroidery machines.
- Enhancing Flexibility: Allowing seamless sharing and collaboration with other designers who may use different software.
- Improving Workflow: Streamlining the embroidery process by enabling easy integration of designs into diverse projects.
Step-by-Step Guide to Convert PXF Files
1. Selecting the Right Software
To convert PXF files, the first step is selecting suitable software. Some popular choices include:
- Wilcom Embroidery Studio
- Embird
- BuzzXplore
- SewArt
Each of these software options offers unique features, but they all support the conversion of PXF files to other embroidery formats.
2. Installing and Setting Up Software
Wilcom Embroidery Studio: Known for its robust features, Wilcom is a top choice for professionals.
- Download and Install: Obtain the software from the official Wilcom website.
- Setup: Follow the installation prompts and configure settings to suit your needs.
Embird: Popular for its user-friendly interface, Embird is suitable for both beginners and experts.
- Download and Install: Visit the Embird website to download the software.
- Setup: Complete the installation process and adjust settings for optimal use.
3. Loading PXF Files
Once the software is installed, the next step is loading your PXF files.
- Open Software: Launch the embroidery software.
- Import PXF File: Use the import function to load the PXF file into the software. This process may vary slightly depending on the software, but it generally involves navigating to the file location and selecting the PXF file.
4. Converting PXF Files
With the PXF file loaded, you can now proceed with the conversion.
- Select Export/Save As Option: Navigate to the export or save as function in the software.
- Choose Desired Format: Select the format you wish to convert the PXF file to, such as DST, PES, or JEF.
- Save File: Specify the save location and complete the conversion process.
5. Verifying the Conversion
After converting the PXF file embroidery, it is crucial to verify the accuracy of the conversion.
- Open Converted File: Load the converted file into your embroidery machine or software.
- Check Design Integrity: Ensure that the design details, such as stitch patterns and colors, are preserved accurately.
- Test Stitching: Perform a test stitch to confirm the design translates correctly onto the fabric.
Common Challenges and Solutions
1. Compatibility Issues
Solution: Ensure you are using updated software versions. Regular updates often include patches for compatibility issues.
2. Loss of Design Details
Solution: Carefully review the converted file before use. Consider adjusting software settings to retain maximum detail during conversion.
3. File Corruption
Solution: Backup original PXF files before conversion. Use reliable software to minimize the risk of file corruption.
Advanced Tips for Optimizing PXF File Conversion
1. Utilize Batch Conversion
For large projects, converting multiple files simultaneously can save time. Ensure your software supports batch conversion and follow these steps:
- Select Batch Conversion: Navigate to the batch conversion option in your software.
- Add Files: Import all PXF files you wish to convert.
- Choose Output Format: Select the desired format for all files.
- Execute Conversion: Start the batch conversion process and monitor for any errors.
2. Customize Conversion Settings
Adjusting conversion settings can enhance the final output quality. Key settings to consider include:
- Stitch Density: Modify stitch density to match the requirements of the new format.
- Color Matching: Ensure thread colors are accurately mapped to the new format.
- File Size Optimization: Optimize file size without compromising design quality.
3. Leverage Cloud-Based Tools
Cloud-based tools offer the advantage of easy access and collaboration. Some popular cloud-based embroidery tools include:
- Embrilliance: Supports various file formats and provides cloud storage options.
- StitchBuddy: Offers cloud synchronization for seamless design access across devices.
Conclusion
Mastering the art of PXF file conversion is a vital skill for embroidery enthusiasts and professionals alike. By selecting the right software, following a structured conversion process, and addressing common challenges, you can ensure your designs are compatible across multiple platforms. Embrace advanced tips to optimize your workflow and achieve impeccable embroidery results.
For all your embroidery digitizing needs, consider exploring our services at Absolute Digitizing. We offer professional and precise digitizing solutions to elevate your embroidery projects to the next level.


